

Dynamics365 - Application Service Accounts
Mar 03, 2023Over the years, I have a WordPress plugin that integrates some webforms with a Dynamics365 instance. This is mostly used to capture leads from the website, and add them to CRM as a lead for the sales function to work their magic.
It has worked beautifully, albeit it wasn't the most secure way of connecting! There were some interesting conditional access policies to make it work in a secure manner.
To my excitement, a later version of the plugin (AlexaCRM incase you are wondering!), provides an OAuth and client secret configuration now.
So, here is how I went about setting the bits and pieces up.
Step 1 - Create an AppRegistration
- First, we need to create an App Registration with the relevant permissions on the Dynamics API. To do this, log into AAD, and make your way to App Registrations:

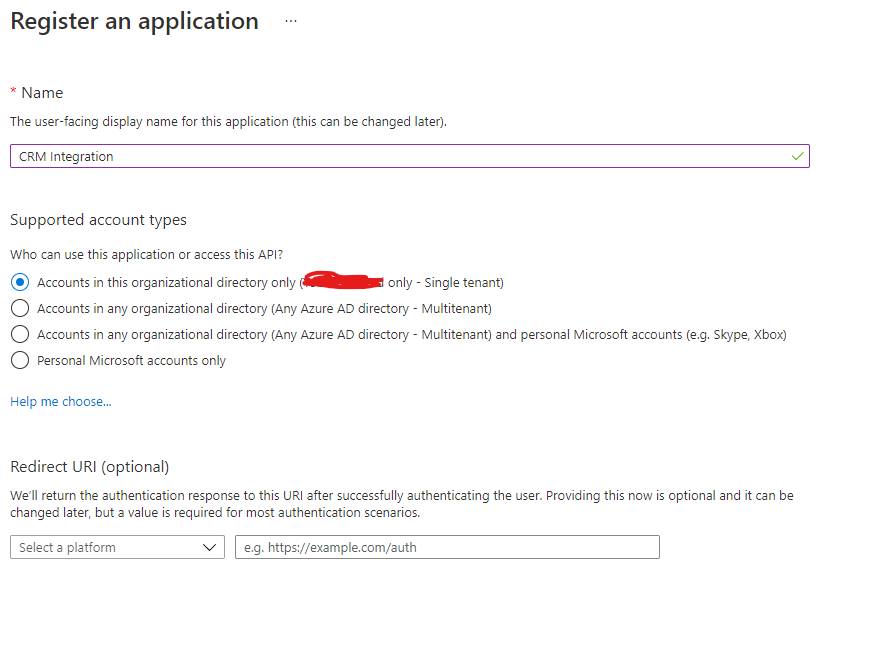
2. Next step is to create a new registration. Give it a nice friendly name (or follow your naming convention if you are that way inclined). Make sure you choose 'in this organisation directory only'. Leave RedirectURI blank and choose register:
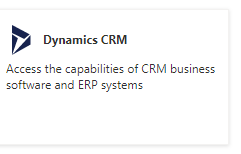
3. Once registered, load it up and make a note of the 'Application (client ID), and make your way to 'API Permissions'. Choose 'Add a Permission', and find 'Dynamics CRM' from the list:
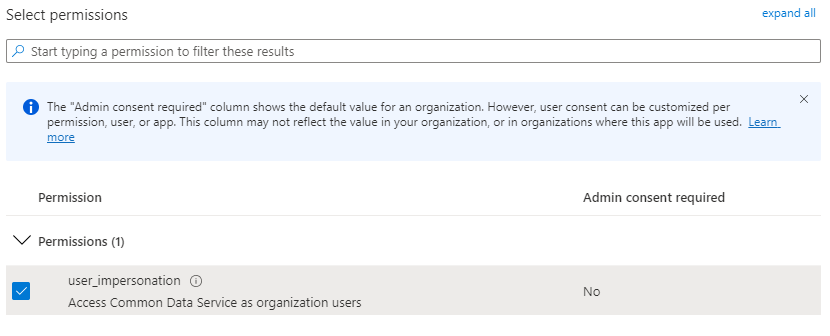
4. Tick 'user_impersonation', and Add Permission:
5. The final step in AAD is to create the client secret that will be used by the plugin. Go to 'Certificates & secrets' from the navigation bar, and choose new secret. Give it a name, and an expiry date. Once you choose Add, you will see the value populated:

Make sure you copy the 'Value' before you leave this page, as if you don't, you wont see it again!
6. There it is, Step 1 is sorted. Now for Power Platform Config!
Step 2 - Configure Power Platform:
In this step, we are going to add the App Registration as a user and give it the relevant security role within Dynamics.
- First step is to log into the Power Platform Admin centre by going to https://admin.powerplatform.microsoft.com/ . Choose your environment from the list.
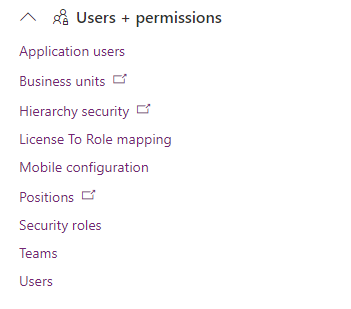
- At the top of the dashboard, you will see 'Settings'. Click on it, and make your way to 'Users and Permissions' and choose 'Application Users':
3. Now you need to add the new user, to do this, simply click 'New App User' at the top. Now, where you see 'App' when creating it, choose 'Add an App' and search for the App Registration you created in Step 1.
4. Choose the correct business unit.
5. Now add the security role you want the App Registration to have (and in turn, this is basically what the Alexa Plugin will have). In my case, I created a custom role that gives it the ability to create leads, and thats it:

6. Now all you need to do is click on create at the bottom.
Step 3 - Finally Done
That is pretty much it. Now you can go to the application connection settings (in my case, the Alexa CRM plugin in WordPress, and add the CRM URL, ApplicationID and application Secret. All works beautifully.
Whats next?
This isn't just about the plugin for me, the guide above can be used to give access to a whole host of different third party applications and plugins. These are more secure that username and passwords, and can easily be locked down if required. Make sure you make a note of the expiry date of that client secret, or you'll be scratching your head when things stop working!
Let me know if you have any questions or issues, I would be happy to help!
Stay connected with news and updates!
Join my mailing list to receive the latest news and updates from me :)
Don't worry, your information will not be shared.
I hate SPAM. I will never sell your information, for any reason.
